In this practical guide that we present on how to plant garlic, we will discover that it is much simpler than we imagine, when we take advantage of these new agricultural techniques that will transform our orchards and large crops into more productive, efficient, ecological, and respectful spaces with our environment.
One of the most profitable and easy to manage crops.
Planting garlic represents an excellent option for farmers and home gardens, as they are very resistant to pests, adapt to a wide variety of soils, and their permanent demand guarantees optimal and continuous profitability.
Preparing the right soil to plant garlic.
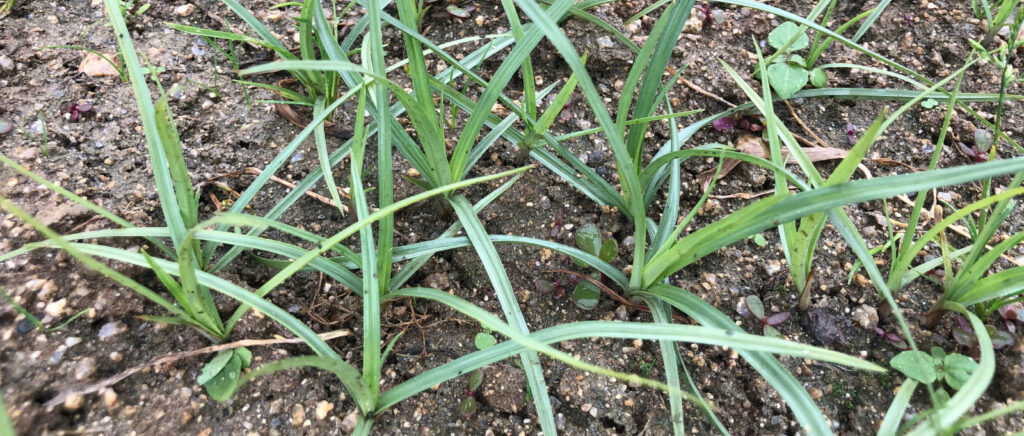
When we decide to plant garlic, it will be necessary to properly condition the soil, which must be light, loose, with good drainage, well leveled and uniform so that the distribution of water is natural and fluid.
Let us remember that the roots of garlic are shallow and therefore need soil with these characteristics.
Therefore, we must avoid clay, very compact or very humid soils, as they retain too much water.
We can improve the quality of our soils by adding organic compost or sand, and thus reduce its density, promote drainage and benefit the development of bulbs.
Analyzing the soil to plant garlic.
Although it is true that we can plant garlic on various soil compositions, it is recommended that we do a study beforehand so that we achieve better results. It means that it is convenient for us to have the appropriate instruments on hand, both to analyze the pH and to measure the level of nutrients we have in our soils.
For example, if our soil is acidic (pH <6.0), we neutralize it by adding agricultural salt. If it is alkaline (pH > 7.5), we add organic matter (mature compost or highly decomposed manure in doses of 3-5 kg per square meter), or elemental sulfur.
We must also analyze the adequate levels of Nitrogen (N), Phosphorus (P) and Potassium (K), to promote good growth of the roots (P) and bulbs (K).
Below we will make a list of meters that are available on the market and that will be very helpful for our previous soil study.
List of pH and nutrient meters.

Today the market has several options to choose from, precise and quality pH and nutrient meters. Here we present a list that can be very helpful:
Hanna Instruments
Hanna Instruments: Offers pH and nutrient meters, known for their accuracy and durability. We can evaluate this at hannainst.es.
Introducing several Hanna devices, which are designed to provide accurate measurements and facilitate control of essential parameters in various applications, including agriculture and garlic cultivation.
HI98129 – Tester de pH/CE/TDS/waterproof temperature
A pocket meter that offers high precision in measurements of pH, electrical conductivity (EC), total dissolved solids (TDS) and temperature.
HI9811-51 -Portable multiparameter pH/CE/TDS/Temperature
This meter is ideal for applications in agriculture, greenhouses and groundwater, allowing the determination of pH, EC and TDS with automatic temperature compensation.
HI98194 – Portable multiparameter (pH/mV, ORP, CE, TDS, Resistivity, Salinity, DO and Temperature)
A portable logging multi-parameter water meter that monitors up to 12 different water quality parameters including pH, ORP, conductivity, dissolved oxygen and temperature.
HI98190 – Portable pH meter (pH/ORP) waterproof, recording with USB output
This professional, waterproof meter accurately measures pH, ORP and temperature, making it a perfect tool for environmental and industrial testing.
HI2020 – EDGE multiparametric pH/CE/OD/Temperature
An innovative and versatile meter that, when connecting the corresponding sensor, becomes a complete pH-meter, conductivity meter or oximeter, offering high-end features.
Bluelab
Specialized in equipment for measuring pH, conductivity and nutrients. Let’s investigate more in:
Bluelab offers a variety of meters designed to monitor essential parameters in agricultural crops. They offer precise and reliable solutions for managing nutrients and growing conditions, and are available through authorized distributors in Spain.
Below we present some available models:
Bluelab Combo Meter
This portable device measures pH, electrical conductivity (EC) and temperature, providing a comprehensive solution for monitoring nutrients and water conditions in crops.
Bluelab pH Pen
A compact and portable meter that allows you to measure the pH and temperature of the nutrient solution, ensuring that plants receive nutrients in optimal conditions.
Bluelab Guardian Monitor
This continuous monitor measures and displays pH, EC and temperature levels in real time, facilitating constant and precise control of the growing environment.
Bluelab Multimedia pH Meter
Designed to measure pH in various growing media, including nutrient solutions and root zones, offering versatility and precision in different environments.
Bluelab Truncheon Nutrient Meter
A robust, easy-to-use meter that measures the electrical conductivity (EC) of nutrient solution, helping to maintain optimal nutrient levels for plants.
Atago
Known for their quality and precision measuring instruments, and include portable meters. They are essential devices for quality control in various industries. Let’s see more details in:
DPH-2
This digital pH meter is compact, portable and waterproof (IP67). It has automatic temperature compensation and is ideal for applications not only in soils, which is our case, but in hydroponics and soluble solutions.
Tilling the soil before planting garlic.
We are going to work our soil when it is not too wet between 15 and 20 cm deep to break up all the compaction, so we can allow for proper aeration and drainage.
Depending on the size of our land, we must use appropriate tools such as a hoe, a plow, a milling machine, and the next step will be to rake the entire surface to level it and break up any remaining clods or compactions.
Before planting garlic, let’s make sure that our growing areas are free of depressions so that water does not accumulate. By achieving a uniform and well-leveled soil, they will receive an adequate amount of nutrients and moisture.
Key steps to plant garlic.
Once our soil analysis and preparation is complete, we move on to the next step.
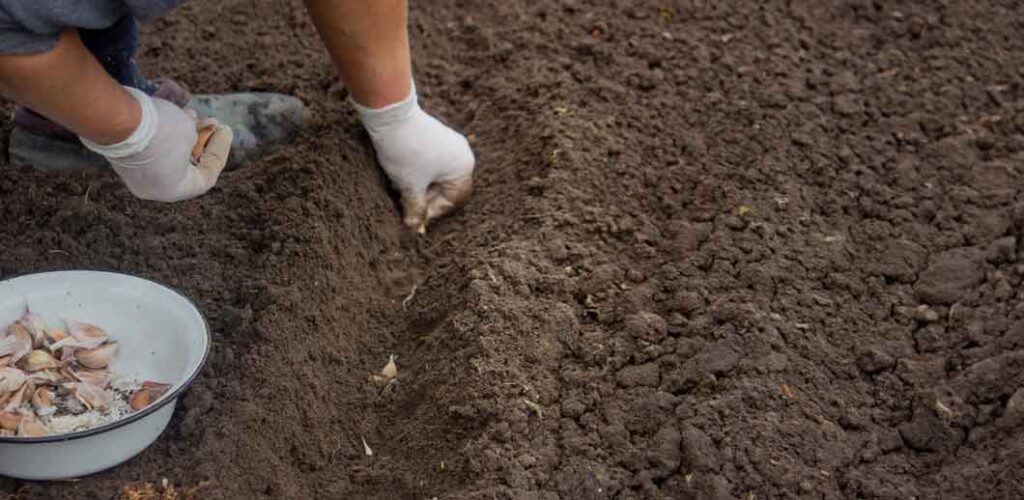
Selection of garlic cloves.
We must ensure that our garlic bulbs and cloves are of good quality, large, well-formed, without premature sprouts, without spots, soft parts or any other damage that we observe, since each clove chosen will become one of our plants.
We open the bulb very carefully so as not to damage the base of the teeth, which is the flat part where the roots will arise, and we choose the outer teeth that are better formed and larger, while the inner ones and closer to the center They are smaller and will form weaker plants and small bulbs.
Suitable time to plant garlic.
If we live in temperate climates we sow in Autumn, between October and December, taking advantage of this drop in temperature so that large bulbs develop, and each clove can divide more easily into several bulbs.
If we live in colder regions, we delay planting until early winter, as garlic develops strong roots during this season and towards spring it will grow stronger.
If, on the other hand, we live in warm climates, before planting garlic it is advisable to store it cold to simulate the effects of low temperatures, between 4 and 6 weeks prior to planting.
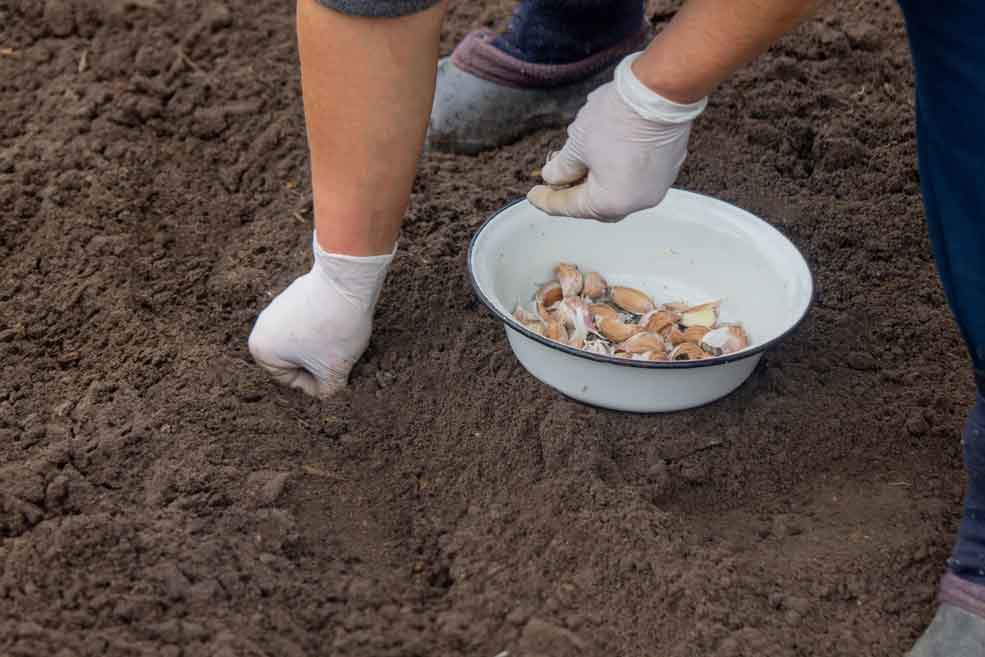
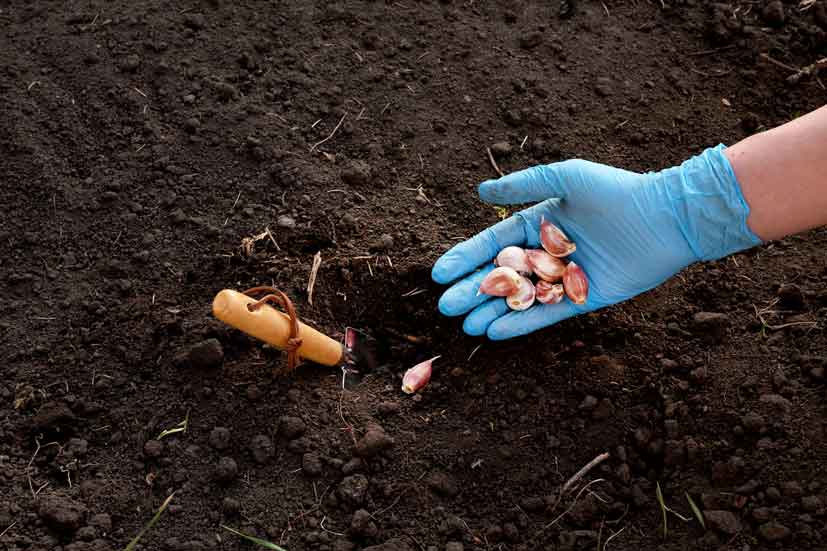
Procedure for planting garlic.
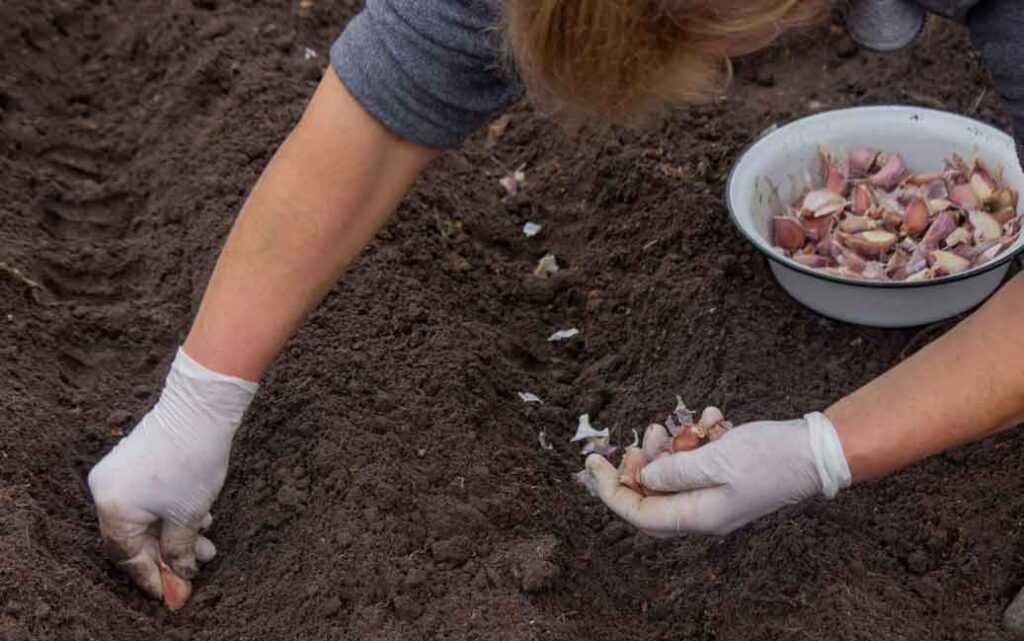
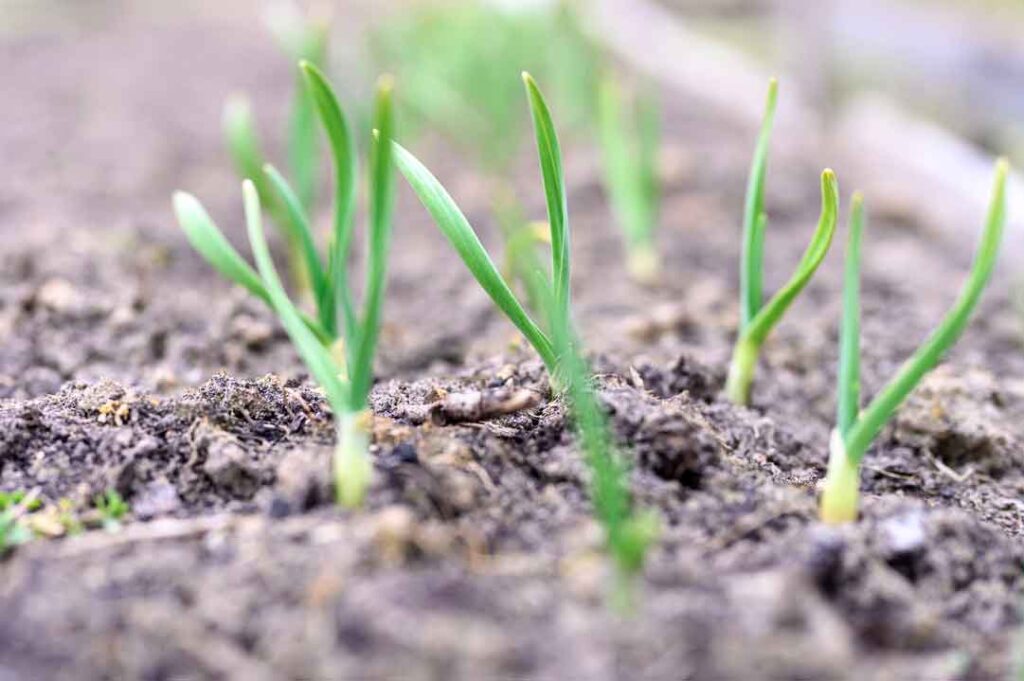
We plant each clove between 3 and 5 cm deep, with the tip facing up and the base, which is the flat part, facing down, since the roots will grow from the latter.
Now, let’s consider the climate in which we are going to plant garlic: if ours is a cold climate we should plant 5 cm underground, and if it is warm, 3 cm will be enough.
Between each plant we must leave a distance of 10 to 15 cm, and between one row and another we calculate around 30 cm, so that each one can begin its development in optimal conditions without competing with each other, since they will have enough space, irrigation and aeration. .
Proper watering when planting garlic.
The initial irrigation should be light and once a week, to settle the soil but not waterlog it, and thus avoid fungal diseases.
This first watering will ensure that each clove achieves good contact in its portion of the soil.
Now, we are going to constantly observe the humidity in case we need to repeat it during the week or in the following days, especially if we plant in dry and hot climates, always taking care not to exceed it. However, when the rainy season begins, it is advisable to reduce irrigation.
As the garlic matures, towards its last phase of growth, we must reduce water irrigation so that the bulbs do not rot.
Marking crop lines to plant garlic.
To make it easier for us to treat our planting, when we have to weed, clean and harvest, we mark lines with stakes and threads, so that we can better see the development of each plant. This way we demarcate a more comfortable and organized space to maintain and control.
Fertilizing the garlic crop.
Due to its resistance and adaptability, garlic responds very well to fertilization, especially during the first phases of growth.
At the beginning of sowing, we recommend adding well-decomposed and loose organic material to ensure an adequate nutrient base.
At this initial moment we must also add fertilizers rich in nitrogen (N), to promote the vigorous development of the leaves, as well as those rich in potassium (K) and phosphorus (P), since these two promote good development of the bulbs.
We must keep in mind that excess nitrogen will cause the leaves to grow larger than the bulbs, so the doses of this element (N) should be moderate.
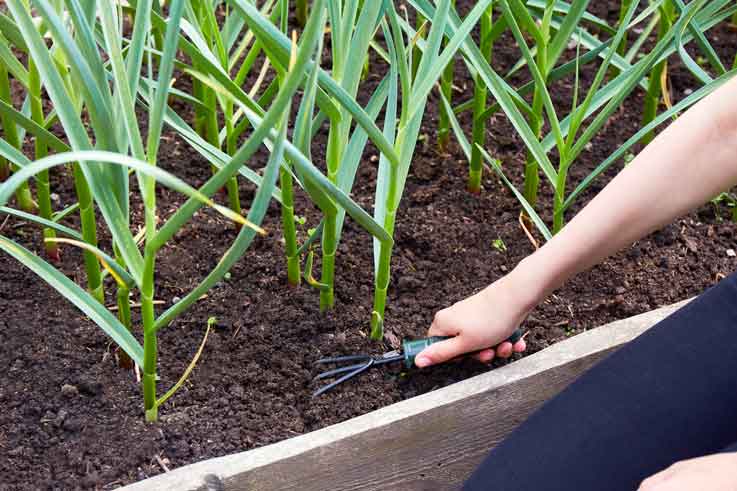
Weed control when planting garlic.
It is very important to periodically check our crop to detect, remove and eliminate any herbs that may compete for resources, and that may inhibit or nullify the development of our garlic. We must remove the weeds manually, remember that the roots of garlic are superficial and we would run the risk of damaging or removing the growing cloves.
It is important to add at this point, and also in the next one in which we deal with the issue of pests and diseases that can arise when planting garlic, that a true solution to these problems, as well as with regard to the appearance of weeds and the control of water irrigation, is to implement the use of Paper Quilting, since it is not only biodegradable but it protects the composition of the soil, the growth of all our crops, reduces the loss of water through evaporation, which maintains the temperature and humidity necessary for our plants to develop properly, and Finally, this paper will become organic fertilizer, very rich in nutrients, and will be useful for our next sowings. At the end of this post we will expand on this important topic.
Common pests and diseases that can appear when planting garlic.
Thrips (Thrips tabaci) and Garlic Nematodes (Ditylenchus dipsaci) are common pests despite the resistance of garlic bulbs and cloves. The first, (Thrips tabaci), are insects that feed on the sap of the leaves, causing a reduction in photosynthesis. We can control them by implementing yellow sticky traps, or applying neem extracts or other organic insecticides. The second, (Ditylenchus dipsaci), are microscopic worms that deform the bulbs and cause them to rot. To avoid this we must carefully choose certified, pest-free garlic cloves, and at this point crop rotation becomes necessary, with plants that are not hosts.
Here we show a list of non-host plants for garlic nematodes:
Cereals:
- Wheat (Triticum aestivum).
- Barley (Hordeum vulgare).
- Corn (Zea mays).
- Oats (Avena sativa).
Legumes:
- Peas (Pisum sativum).
- Alfalfa (Medicago sativa).
- Broad beans (Vicia faba).
- Lentils (Lens culinaris).
Cover plants and green manure:
- White mustard (Sinapis alba).
- Forage radish (Raphanus sativus var. oleiferus).
- White clover (Trifolium repens).
- Vicia villosa (Vicia villosa).
Other resistant crops:
- Potato (Solanum tuberosum), under certain conditions and depending on the variety.
- Zucchini (Cucurbita pepo).
- Watermelon (Citrullus lanatus).
Rotating the crop to plant garlic.
Regarding crop rotation, it is advisable to leave an interval of 3 to 4 years before replanting garlic in the same soil, and before the next planting, let’s do a periodic analysis to check if there are any signs of nematodes. Onions, leeks and shallots should follow the same treatment as garlic, as they are also susceptible to being contaminated with nematodes. On the other hand, green fertilizers such as mustard and radish are hosts and at the same time release biofumigant compounds that help reduce the nematode population. If we rotate crops properly using some non-host plants that we mentioned above, we will reduce the risks of creating this pest population and the proliferation of diseases.
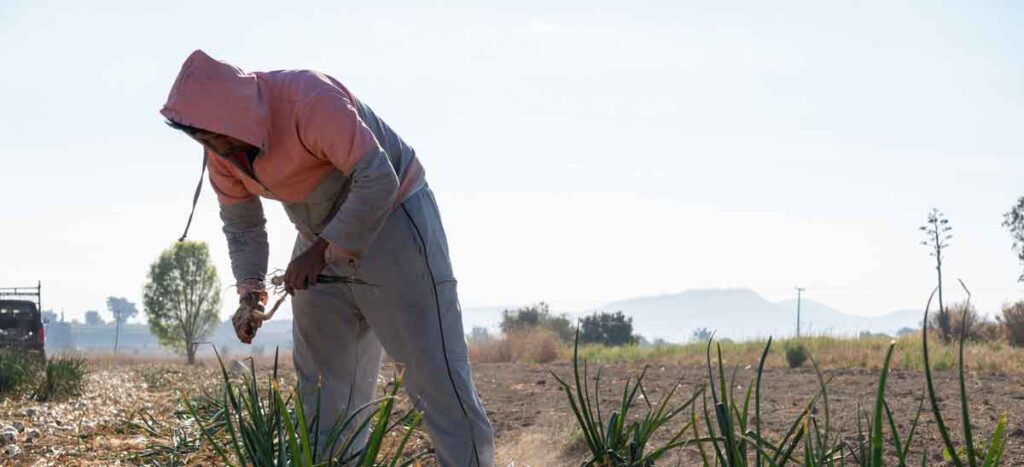
Harvesting, Storage and Curing of garlic. Recommendations.
Step 1.
The right time to harvest garlic is very important as it is a decisive factor in the size, quality, flavor, useful life and durability of the bulbs. This means that not only does planting garlic require all the care that we have shared previously, but this moment of harvesting and storing will be especially delicate.
When the leaves have dried to one-third (1/3) of their size, and begin to turn yellowish or brown, it means that the nutrients from those leaves have been transferred to the bulbs. In this phase we should not wait too long because the cloves will begin to separate inside the bulbs, and this is when they will be prone to contamination and will not have as much useful life.
Step 2.
After planting garlic, the harvest will occur approximately between 6 and 8 months, depending on the variety we have selected and the climate in which we live.
For example, if we live in temperate climates, we estimate that the garlic we have planted in Autumn will be ready for harvest in late spring or early summer. If we are not sure, let’s take one or two bulbs as a test, and observe their size and maturity. The teeth should be well formed and of good size, and covered by dry, firm skin.
Step 3.
When we handle the harvest we must take special care when extracting the bulbs. We could damage them, and this is why we are going to carefully observe the state of the soil; It should be slightly dry so that we can extract them more easily. If the soil is wet, we run the risk of dirtying or damaging the bulbs.
Step 4.
Let’s use a hoe or garden fork to loosen the soil around each bulb. We take the plant from the base of the stem, and pull it very carefully.
Step 5.
Once we have extracted all the bulbs, we will remove those that are damaged, with signs of rot or cracked, as they will not be suitable for long-term storage. We can consume in the short term those that we see are still edible. We discarded the rest, unfortunately.
Step 6.
It is time to dry and cure our harvest. Previously, we must choose and prepare a suitable space for this phase; space that must be ventilated, shaded (without direct light), and dry, without adjacent humidity.
We can enable a ventilated garage with indirect light, a shed or a space with natural but not direct shade, and we will enable ropes or some other element to hang them tied from the stems and upside down, if we have harvested small quantities. Likewise, we can use containers or containers that allow good air circulation, such as mesh baskets, perforated paper bags, wooden boxes, as long as we do not place them near products that generate humidity such as potatoes, for example. We must keep our garlic dry at all times.
In the case of a large crop, we must have a mesh or grid raised from the ground (to avoid humidity or insects), to place the tied bulbs equally.
In both cases, ventilation will be a decisive factor for drying.
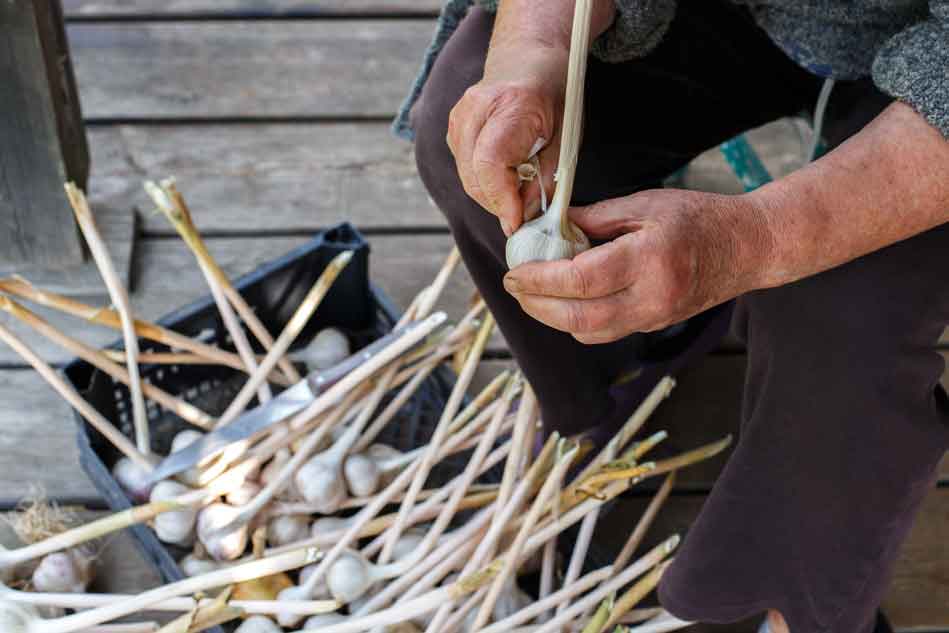
Step 7.
The curing time of our garlic will be approximately 2 to 4 weeks, or until we observe that the stems, leaves and skin of the bulbs dry, and this skin is crispy. At this time we can store them.
Preparing the storage of our garlic harvest.
Once we have cured our bulbs, we will trim the stems up to 3 and 5 cm above each bulb, cleaning the outer layers that look dirty or damaged but without exposing the cloves, to keep them protected. The useful and productive life of our garlic ranges between 6 and 12 months, if we have followed all the steps described here. Let’s leave the roots 1 cm from each base, eliminating all traces of adhered soil. Let’s pay regular attention to the skin of the bulbs; If it is hard, it will be able to preserve the teeth for longer than those that are contained in soft skin. Cloves covered with soft skin should be consumed first and in the shortest time.
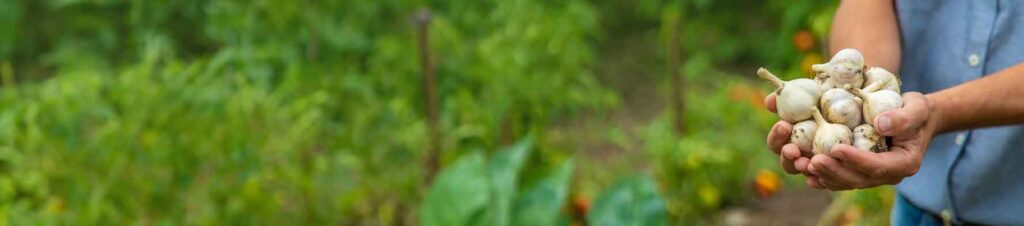
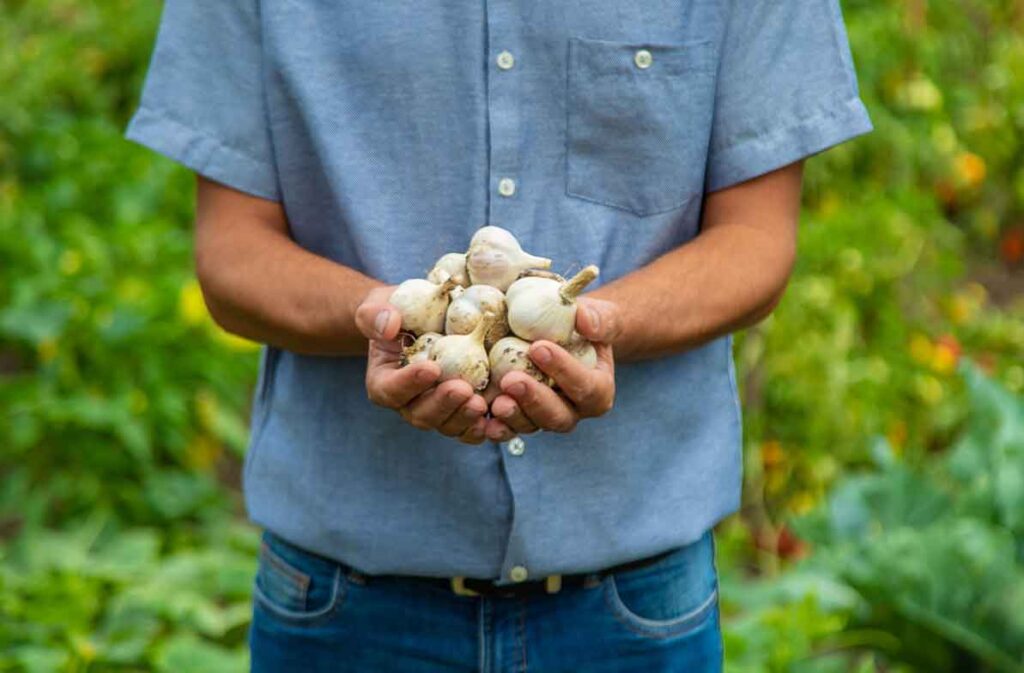
Now we are going to separate the bulbs by size.
The medium and small ones will be used for consumption, while the large ones will be used for our next sowing.
Recommendations after planting garlic.

Once we have completed all the previous steps, it is important that we frequently check our storage to identify and remove any garlic that shows signs of germination, mold or rot.
Other ways to preserve garlic.
If we want to use our garlic for culinary purposes, we can wash and peel it well, place it in an airtight bag and freeze it, and thus it will last longer and only depending on the degree of humidity we have. Let’s remember that the humidity we need to prevent rot should be relatively low (between approximately 60% and 70%).
The ideal temperature for prolonged conservation will be between 0° and 5° for the next 6 months from the moment of refrigeration. Another way to preserve them is, previously washed and peeled, to immerse them in a sterilized glass jar, in oil (preferably olive), and tightly close. We also keep it in the freezer; However, the duration here is relative; not as long as our first option, although both will be very useful for frequent use.
We can also cut them into very thin slices and dehydrate them to preserve them that way or put them through the food processor. We will get homemade, natural garlic powder, without any chemical additives.
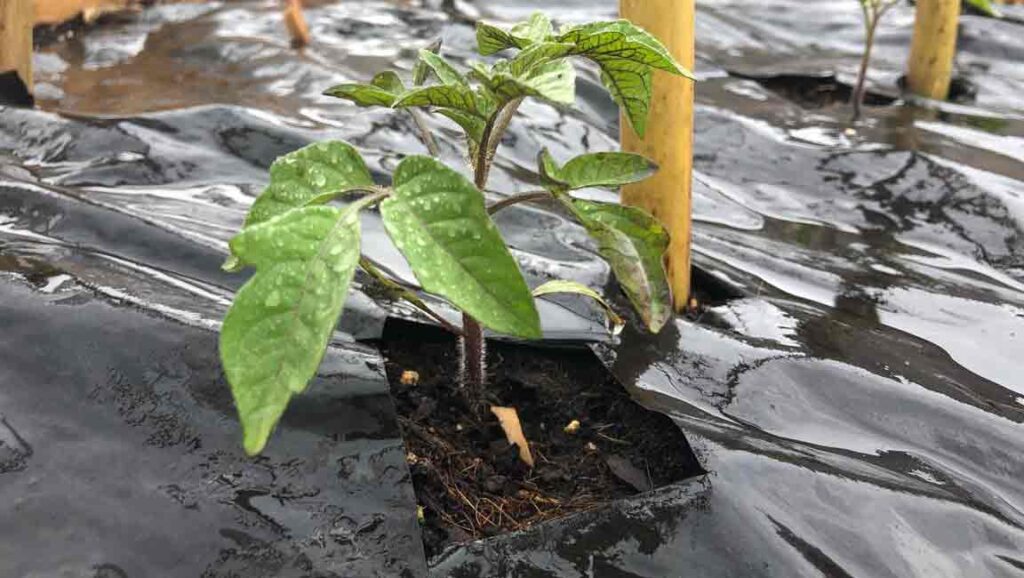
The use of agricultural paper mulching as an innovative, sustainable and biodegradable technique.
This new cultivation technique offers us multiple advantages and solutions when planting garlic or any other planting that we start.
This new method not only improves the productivity and sustainability of the plantations, but also allows us to manage our land with much greater safety and effectiveness.
Learn about Novamulch agricultural mulch technology at this link:
Advantages of using paper mulch when planting garlic.
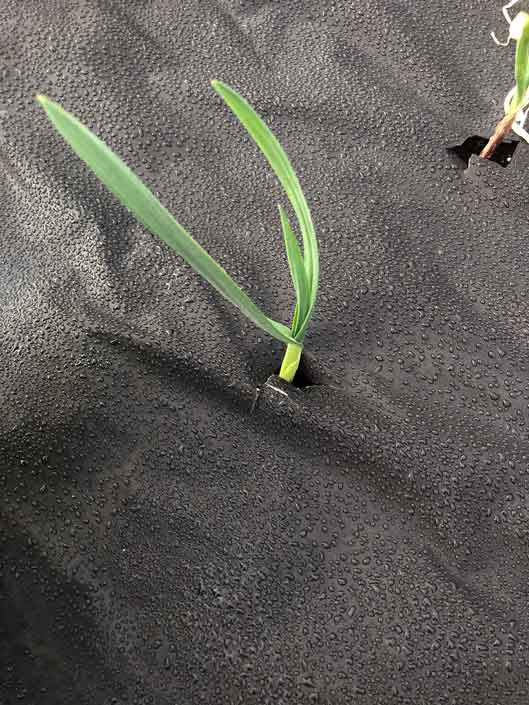
- It acts as a protective barrier and sunlight filter that prevents the germination and proliferation of weeds, and the competition between them and our garlic crop.
- Paper mulch reduces evaporation, which maintains continuous and adequate humidity to promote optimal development when planting garlic, and solves the intelligent and effective use of water irrigation, especially in large crop areas. By covering the soil, biodegradable mulch reduces water loss through evaporation, especially in hot climates or during dry periods. This is especially beneficial for planting garlic, as it requires constant humidity but is sensitive to excess watering. In winter climates, mulching will help us maintain the natural heat of the soil and create a stable and appropriate environment that ensures proper root development of the bulbs.
- The paper mulch maintains stable temperatures, protecting the superficial roots of the garlic from thermal changes that can affect the effective development that we expect in our crop, as well as the appearance and proliferation of the pests and diseases that we have described above, therefore, By covering the ground, it reduces their exposure to their ideal habitats.
- By incorporating the use of biodegradable paper mulch when planting garlic, we optimize the yield and productivity of the crop, improve the quality of the soil we have, and we will be highly responsible with our environment.
- The paper mulch is biodegradable, which is why it decomposes at the end of the growing process, becomes organic matter, improves soil structure, increases nutrient retention and promotes the activity of beneficial microorganisms necessary for planting garlic.
- Paper mulch protects the soil surface from the direct impact of rain, reducing compaction and the formation of crusts or hard layers, which will harm healthy germination and proper plant growth.
- If we are going to plant garlic on sloping or erosion-prone land, paper mulching will be very helpful, as it covers and fixes the top layer of soil, reduces soil drag, and conserves nutrients in the root area of the garlic. garlic, prevents wind and excessive rain from carrying contaminating particles or the superficial roots of our garlic.
- Being a biodegradable and compostable product, paper mulch does not generate plastic or microplastic waste that is harmful both to the soil and to planting garlic, in our case. It is easy to handle and we can adapt it to different sizes and shapes of land. To plant garlic, we can easily drill holes in this material, calculating the planting distances that we recommended above. We will obtain better results and with more security. Likewise, we reduce the need to implement expensive and harmful chemical products (herbicides and fertilizers), we minimize the environmental impact generated by non-biodegradable agricultural waste, we will not require the collection and subsequent disposal of this material (as happens with plastics), Therefore, we solve waste management and save associated costs.
- Finally, by incorporating the use of paper mulch into our garlic growing project, we will achieve an effective combination of obtaining and maintaining protected soil, with stable and adequate temperature and humidity, we will promote the uniform growth of garlic, and we will obtain larger bulbs. big and healthy.
-
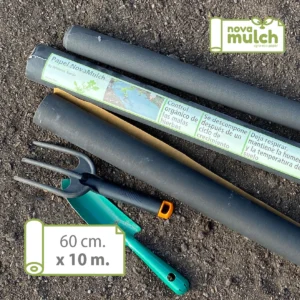 Novamulch paper 60 cm. x 10m.14,85 € VAT included
 -
 Novamulch paper 60 cm. x 20 m.21,89 € VAT included
 -
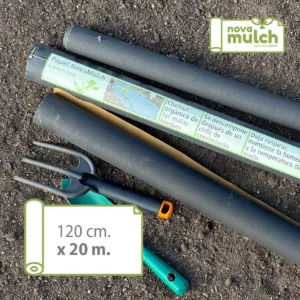 Novamulch paper 120 cm. x 20 m.41,63 € VAT included
 -
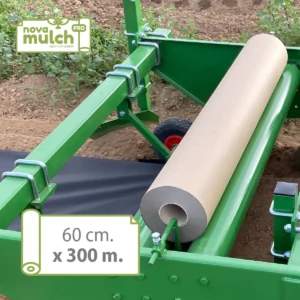 Novamulch Professional Paper 60 cm. x 300 m.47,10 € VAT included
 -
 Novamulch Professional Paper 120 cm. x 300 m.94,21 € VAT included
 -
 PACK of 3 rolls of Novamulch Professional paper 60 cm. x 300 m. (900 m)141,30 € VAT included
 -
 PACK of 6 rolls of Novamulch Professional paper 60 cm. x 300 m. (1.800 m)282,22 € VAT included
 -
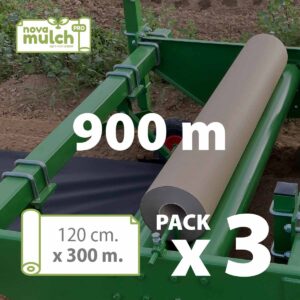 PACK of 3 rolls of Novamulch Professional paper 120 cm. x 300 m. (900 m)282,22 € VAT included
 -
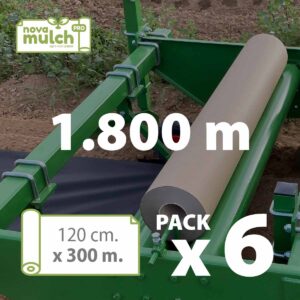 PACK of 6 rolls of Novamulch Professional paper 120 cm. x 300 m. (1.800 m)565,28 € VAT included
In this detailed guide on how to plant garlic, we have shared all the stages that we must go through and attend to so that our cultivation is optimal and profitable. From the previous study of the composition of the soil and the devices that we need to adapt and condition it in a balanced way to achieve an effective and successful sowing, making use of paper mulching, which is our great ally and ecological helper to protect and carry out the entire soil successfully. cultivation process, to the collection, storage and conservation of our garlic.
Planting garlic today always represents an excellent option for small gardens and large agricultural extensions, since, with the help of paper mulching we will obtain a very beneficial result and our land will become a healthier, more ecological and efficient space for our next generations. cultivation projects.
Let’s get to work and many successes!